
About this guide
This is the Magpie Online Guide — the quick, video-first companion for setting up and operating your Magpie. Each section below is a short note plus a walkthrough video; the videos are captioned and meant to be watched straight through.
For the full written reference — specifications, the complete command list, status messages, troubleshooting, and detailed step-by-step procedures — see the Magpie Manual, which you can read online or download as a PDF. Where a procedure has written steps, this guide links straight to the matching manual section.
Quick Start
This walkthrough takes a new Magpie from powered off to logged, formatted data. Watch it straight through, or use the steps below as a chapter list — each links to short videos and detailed instructions below.
Note: The short videos in the sections below are clips taken from this same walkthrough.
- Connect the battery and power on the Magpie — details.
- Connect over Bluetooth and view live data in the QTFM2 UI — details.
- Record and export data from the UI — details.
- Connect over WiFi and log through the MiniACB, then format the data with the QuSpin tools — details.
Connecting the Magpie
Bluetooth gives full command and control from the QTFM2 UI — reboot the unit, monitor status, and start or stop logging.
Wi-Fi handles logger commands, data download, and firmware updates from any Wi-Fi-connected device.
After logging, confirm your data matches the expected Magpie data structure →
Full written steps in the manual →
QTFM2 UI Quick Start
Record and review live scalar and vector data in the QTFM2 Windows app.
Full written steps in the manual →
Post-Processing
Drag a logged .txt onto Qlog_Processor to turn it into an analysis-ready .csv.
Download QLog_Processor.exe (Windows, no installation, updated 2026-10-09) or the same tool as a single Python file; the checksums and the list of what changed are in section 6.2 of the manual.
Hardware
Battery
Connect and disconnect the included Li-Po battery pack.
Full written steps in the manual →
Removing the Shell
Insert a screwdriver through the provided hole and use it as a handle to pull the sled free of the outer shell.
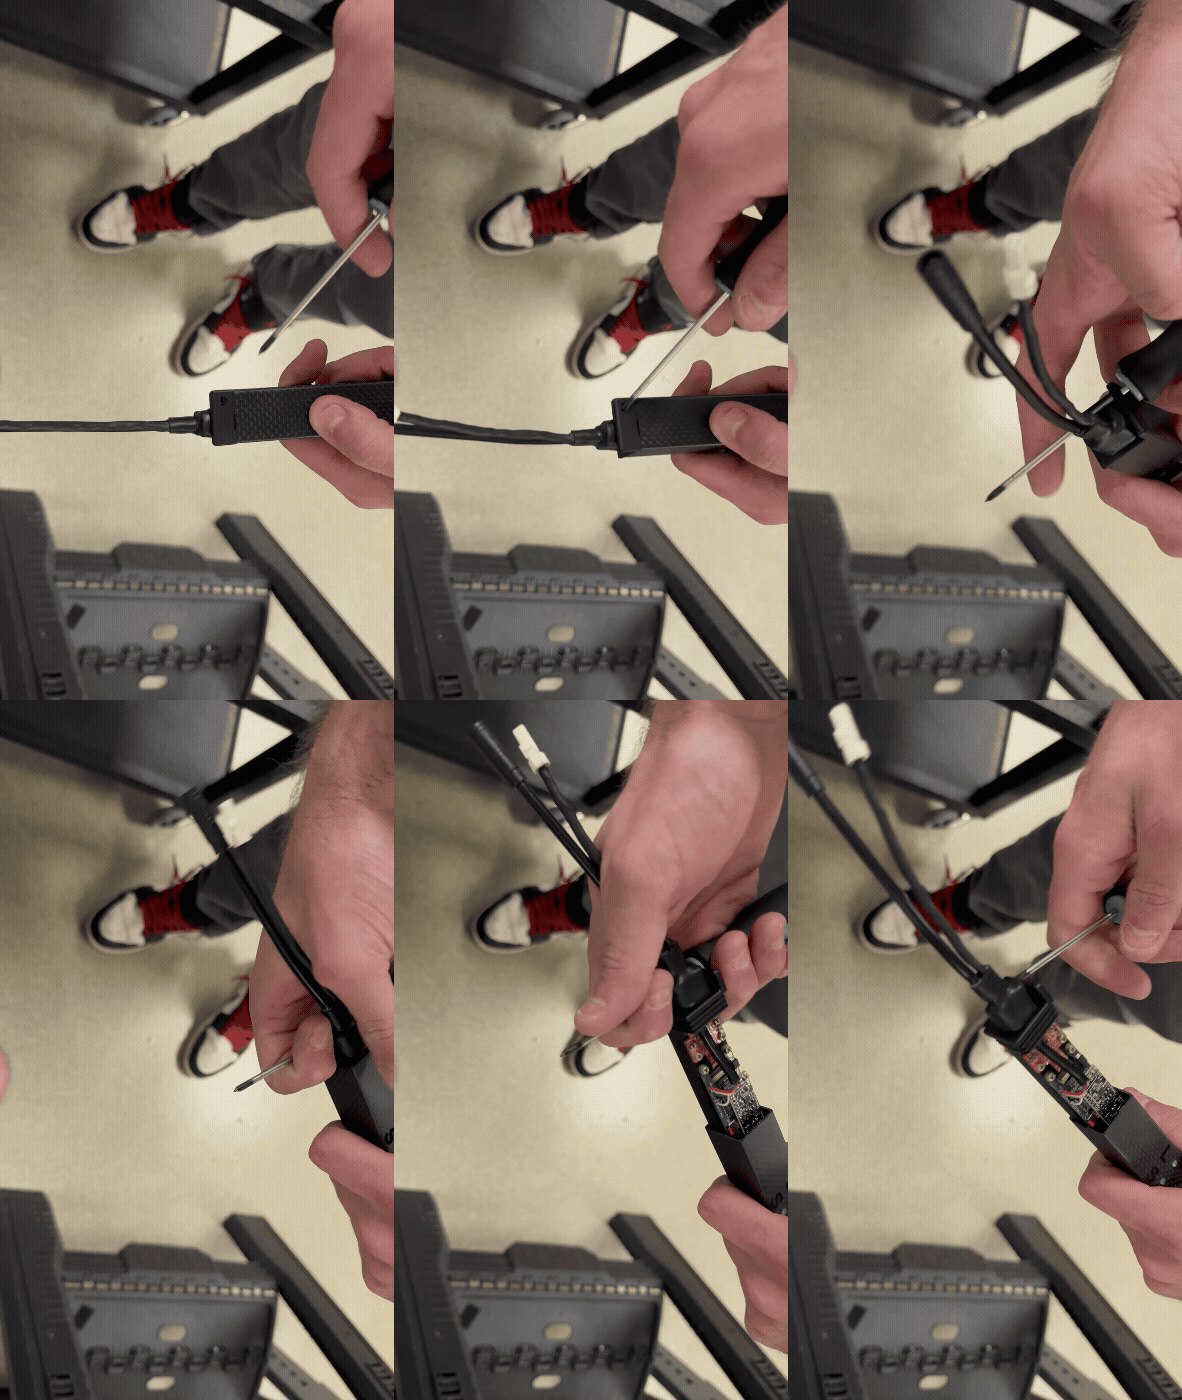
Full written steps in the manual →
Removing the SD Card
Push the SD-card holder away from the edge of the Magpie to release it, then lift the card out.
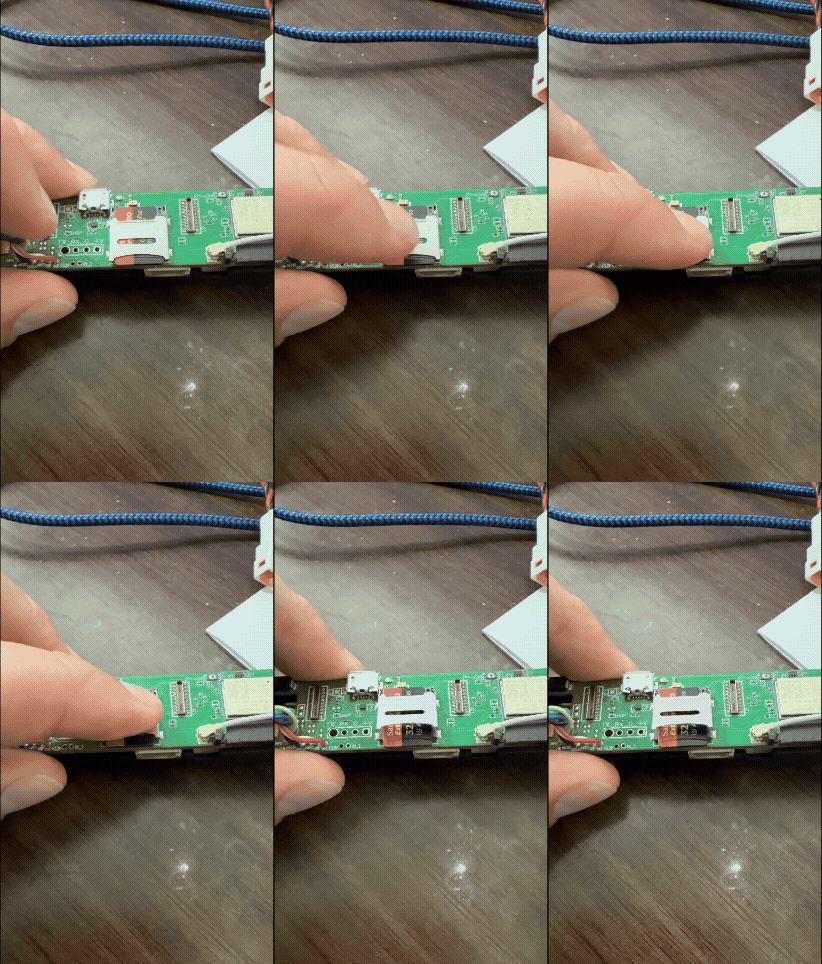
Full written steps in the manual →
Magpie Assembly
Lay out the sled, boards, and sensor head, then assemble them in order.
Full written steps in the manual →
Integrating Alternate Cables
Swap the Magpie’s input cables for your own.
Full written steps in the manual →
Hardwiring with a Standard Comms Board (SCB)
The SCB plugs into the flex-cable connector on the side of the MiniACB for a direct wired serial link to the sensor.
An SCB can also be repurposed with spare connectors to power and sync a Magpie in place of the battery and sync cables — the manual covers this modification.
Maintenance
Firmware Update
The Magpie logger and the QTFM2 sensor update independently.
MINI_ACB_V<N>.ino.bin and .merged.bin files plus any release-specific notes.Magpie logger firmware. Flashed from the Magpie itself — over Wi-Fi (Method 1) or by USB for recovery (Method 2).
QTFM2 sensor firmware. Flashed through a standard Comms board on the flex connector on the side of the MiniACB — remove the shell first.
Full written steps in the manual →
Sensor Reoptimization
Semi-automated routines that restore a sensor that won’t complete autostart.